Installation Instructions For Wordpress
Print
Created by: Maulik mandali
Modified on: Tue, 18 Jun, 2019 at 7:41 PM
Step 1) VM Creation:
Click the Launch on Compute Engine button to choose the hardware and network settings.

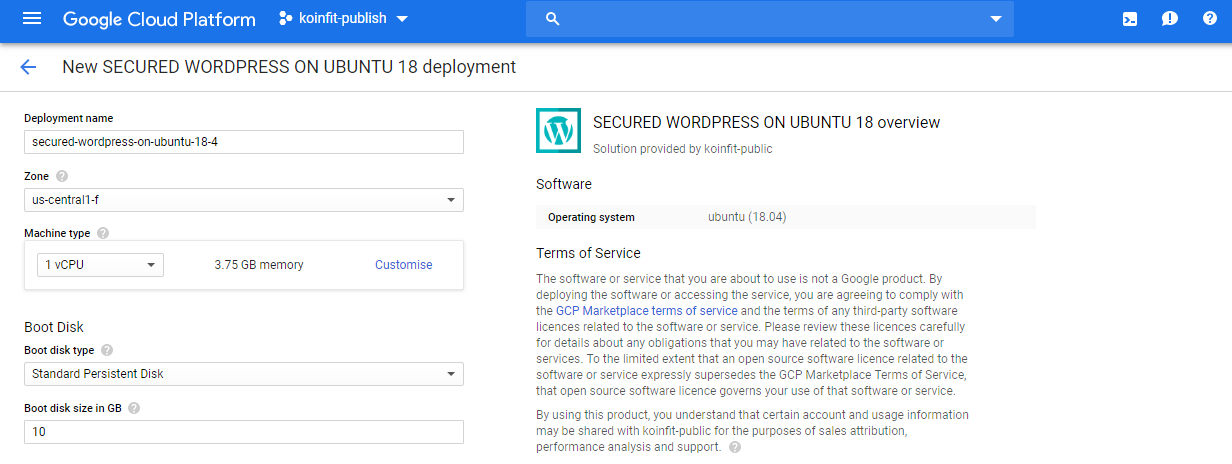
2.You can see at this page, an overview of WordPress Image as well as some estimated costs of VM.

3.In the settings page, you can choose the number of CPUs and amount of RAM, the disk size and type etc.
Step 2) SSH Connection:
To connect to the deployed instance, Please follow Instructions to Connect to Ubuntu instance on Google Cloud
1) Download Putty.
2) Connect to the virtual machine using SSH key
Hostname: PublicDNS / IP of machine
Port : 22
Step 3) Create database with cloud SQL :
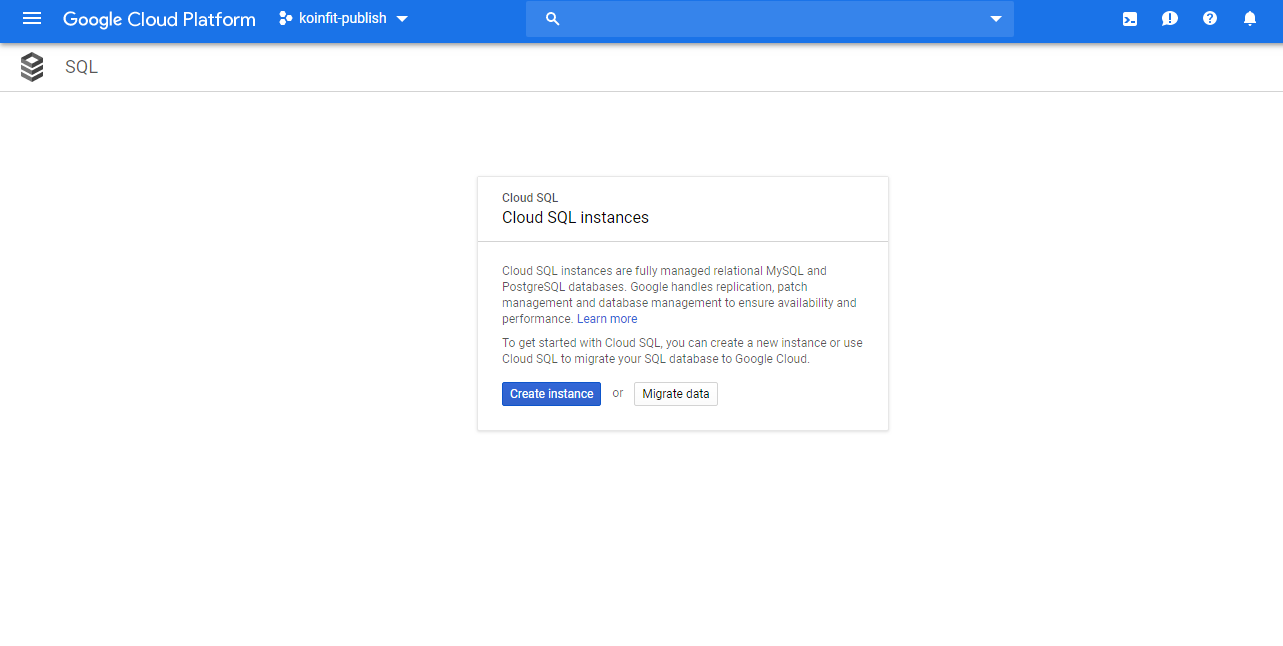
1) Goto Cloud SQL
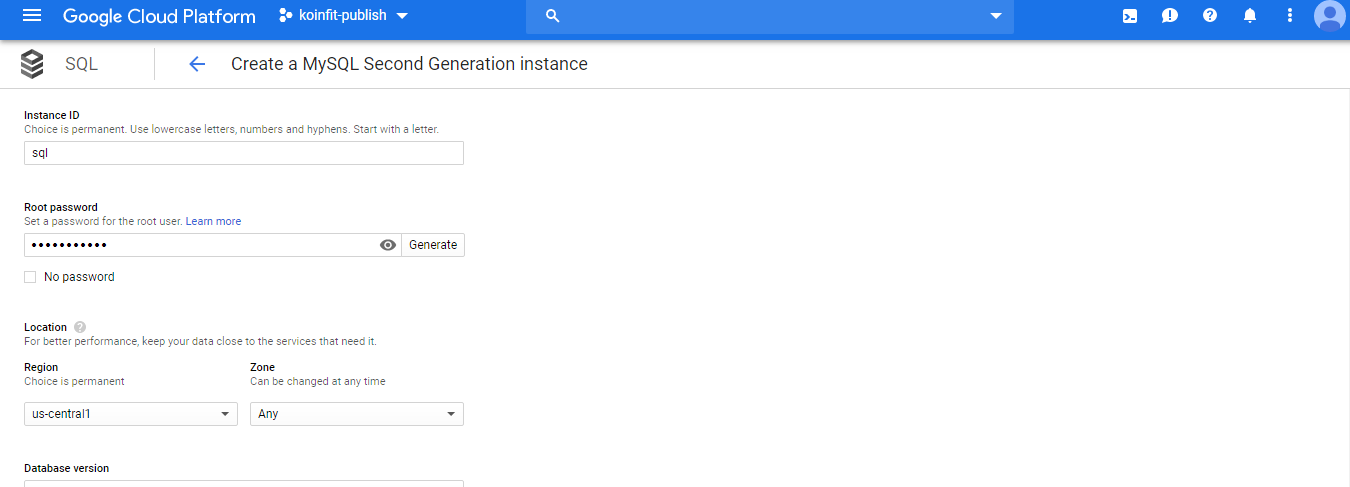
2) Click on Create instance and select MySQL instance then fill the required details like instance ID root password location and region.
3) Now click on show configuration options and select connectivity.click on public ip and add your WordPress VM instance ip like (255.255.255.255/32)

4) Configure machine type and storage type. then click on submit. now wait till your instance will ready.

5) once your instance is ready just open it and copy your public ip. then goto database section and create a new database. and give name wordpress.
Step 4) WordPress installation
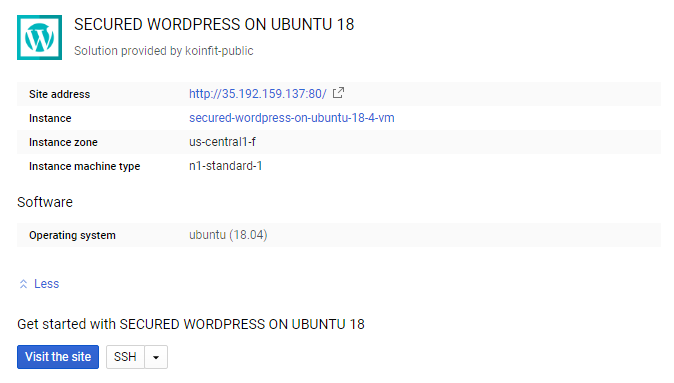
1) Goto deployment page and select secured WordPress on Ubuntu 18 and click on site address open it in new tab.
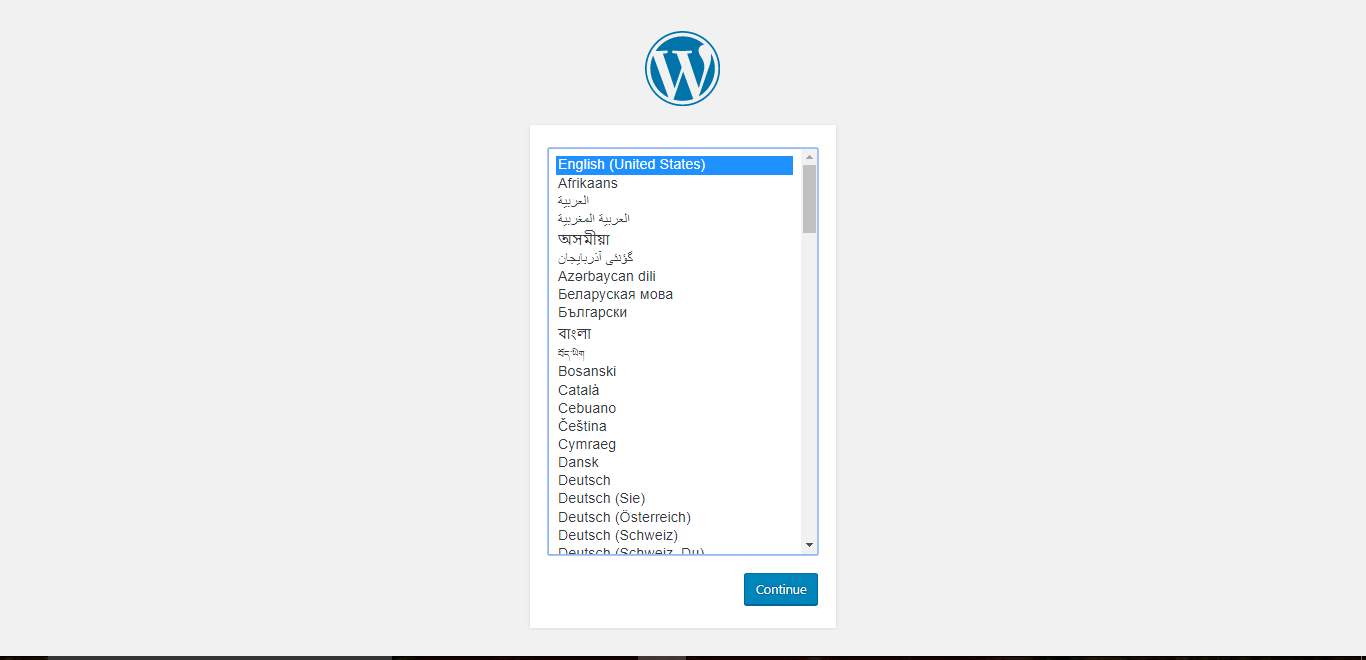
2) Select your language and click on continue.
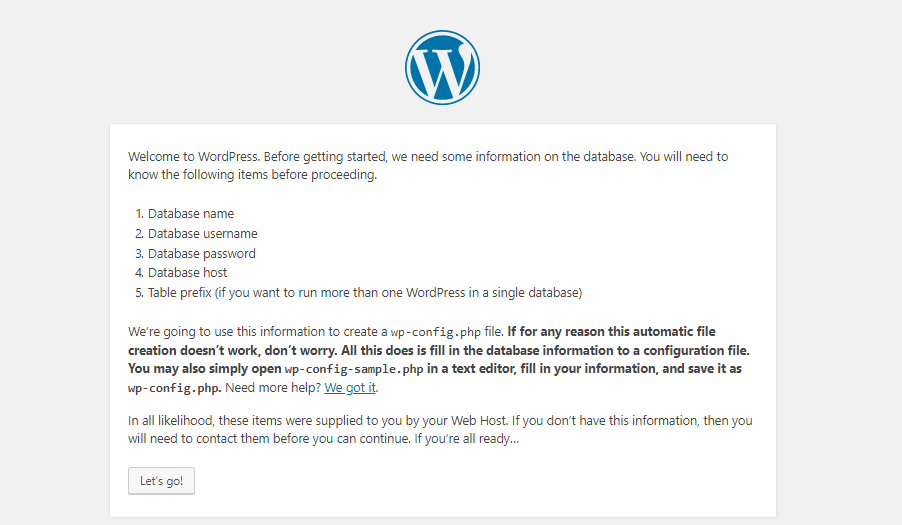
3) Now click on let's go.
4) Now fill all details and that's it your WordPress is ready to use.
NOTE IF YOU STILL FACING ANY PROBLEM JUST CREATE A SUPPORT TICKET AND OUR AGENT WILL HELP YOU ASAP.
Maulik is the author of this solution article.
Did you find it helpful?
Yes
No
Send feedback Sorry we couldn't be helpful. Help us improve this article with your feedback.